Sage Documentation
Welcome to ERPGAP CRM documentation. In this article you'll find a step-by-step guide on how you can work with your CRM integrated with Sage.
Let’s start with the basics and take a look at the

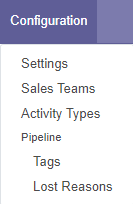
Configure Sales Teams and Activities

- Fill the Sales Team name
- Give permissions on what they can do (e.g if they have access to the pipeline and whether they can create quotations)
- Choose a Team leader or a responsible person for opportunities of this team
- Set invoicing goals
- Set up an Email Alias so you keep everything organized.

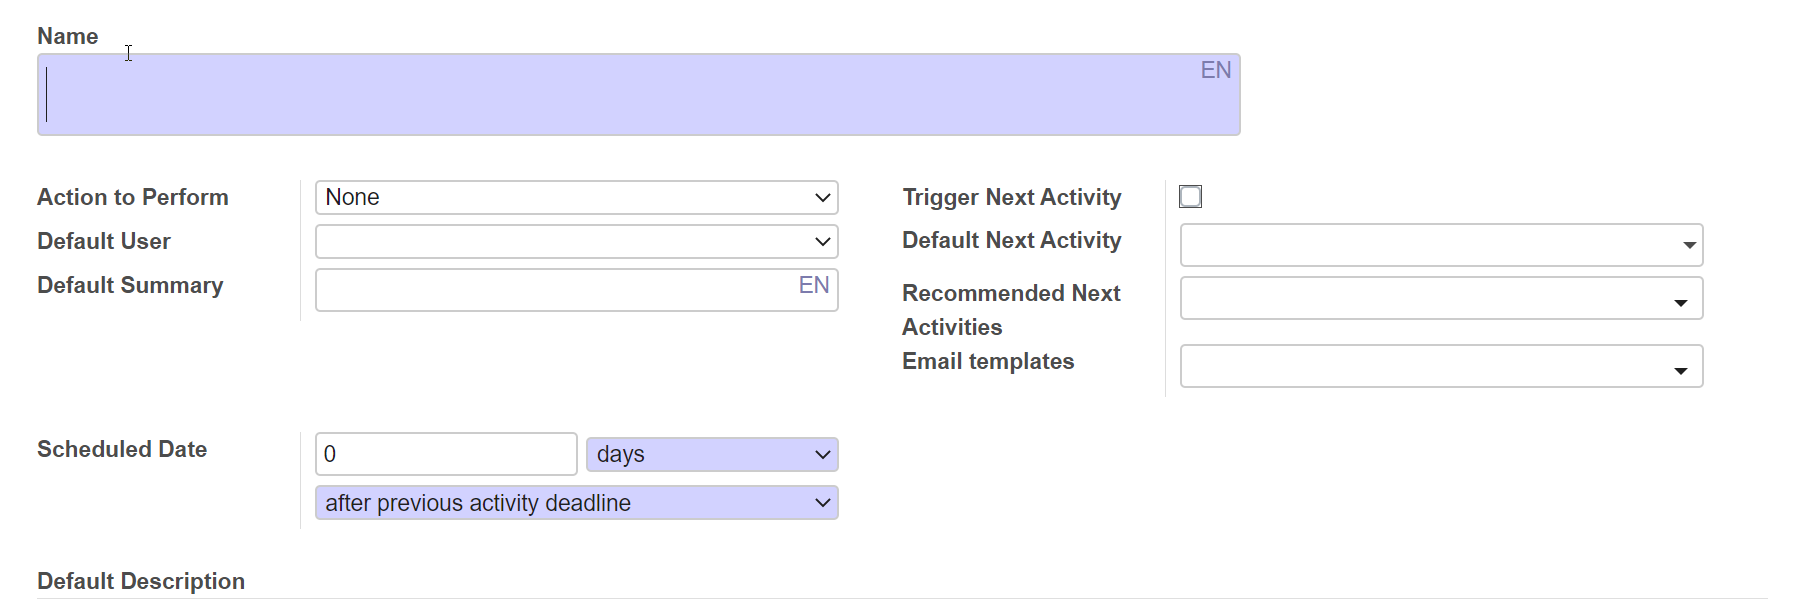
- Name the activity
- Order an action
- Schedule a date
Create and Manage Opportunities
Once you configured your Sales Teams and the activities types you’re now able to create your
first opportunity. On the CRM overview page you’ll see that you’re looking at your Pipeline. This means that all opportunities in this Pipeline belong to your user. Inside
your pipeline you’ve already created some default stages that are the most common ones, however
you’re able to create and delete as many stages as you would like.
There will be different ways to have your opportunities created, either manually or by contacting
via the email alias or a contact form that redirects to Odoo CRM opportunities.
Since the last two ways are basically automatically generated, let’s take a look at the Manual
option to create an opportunity.
By clicking on the
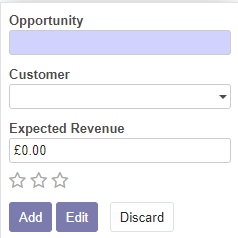
These are the basic details needed to quickly create an opportunity (notice that neither
expected Revenue or Customer are required fields).
Once you’re inside an opportunity you can either complete it with more information or you can
manage this specific opportunity. In this view you can send an email to the customer and everyone
that is a follower of that opportunity by just clicking on the
 . Right beside this, you’ll find
 (to add internal information for everyone that follows this opportunity) and
 where you can schedule an appointment from the ones you’ve set up earlier.
One quicker way to schedule an activity is by simply clicking on
 that you find on your Pipeline opportunities overview.
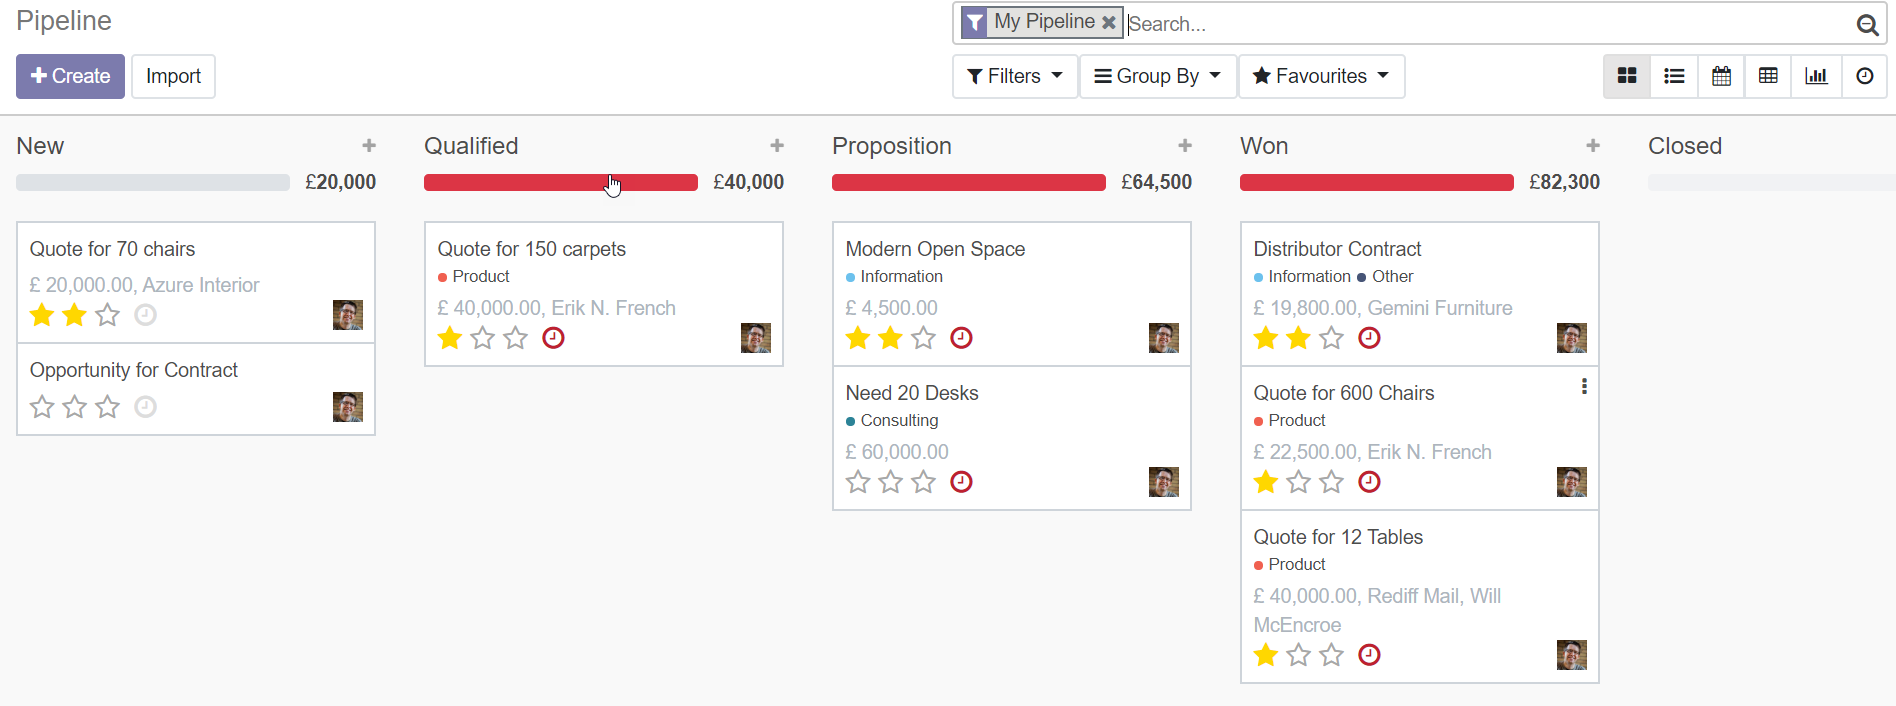
Filter your Opportunities
One great feature of Odoo’s Kanban view is how easy you can organize all these opportunities
by using
 . With this function you can literally filter by any information that might be useful. All fields
are available to be selected and filtered.
. With this function you can literally filter by any information that might be useful. All fields
are available to be selected and filtered.
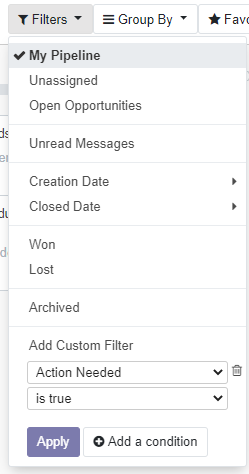
Even though you can create any filter here, Odoo is already prepared to facilitate your
work. In the top right corner you can find a clock
 . By clicking on it you can quickly see which ticket you have due, the ones that are assigned
for today and the ones that are only meant for the future.
. By clicking on it you can quickly see which ticket you have due, the ones that are assigned
for today and the ones that are only meant for the future.

One other useful filter that you can use is the
 option. With this you can group your opportunities by Customer, Creation Date and many other options.
Creating a Quotation and a Sage Invoice
After all these initial steps you’re now ready to start your daily work dealing with
opportunities using our amazing CRM.
Let’s take a look inside a filled opportunity:
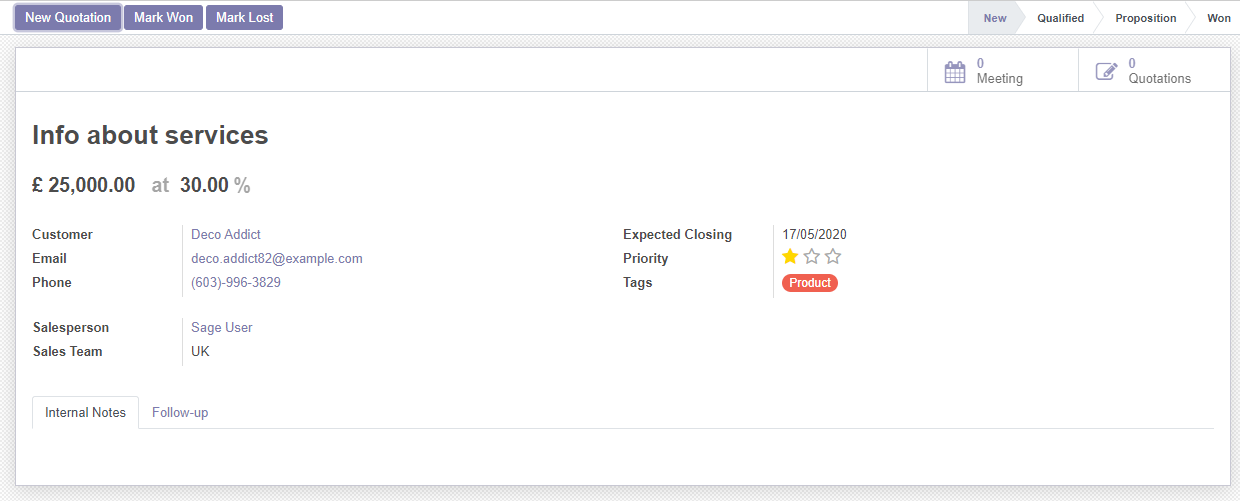
As you can see this opportunity is in the “New” stage. By using a simple drag & drop
function in the pipeline, you can easily move these opportunities around until you hit the
objective of winning the opportunity. After you get to a won stage you’re now ready to
create a quotation. A great perk about Odoo’s CRM is that you don’t have to leave this app
to move forward with these opportunities. By just clicking on the
 button on the top left corner of the opportunity, you’re taken to a Quotation Form pre-filled
with information from the CRM.
button on the top left corner of the opportunity, you’re taken to a Quotation Form pre-filled
with information from the CRM.
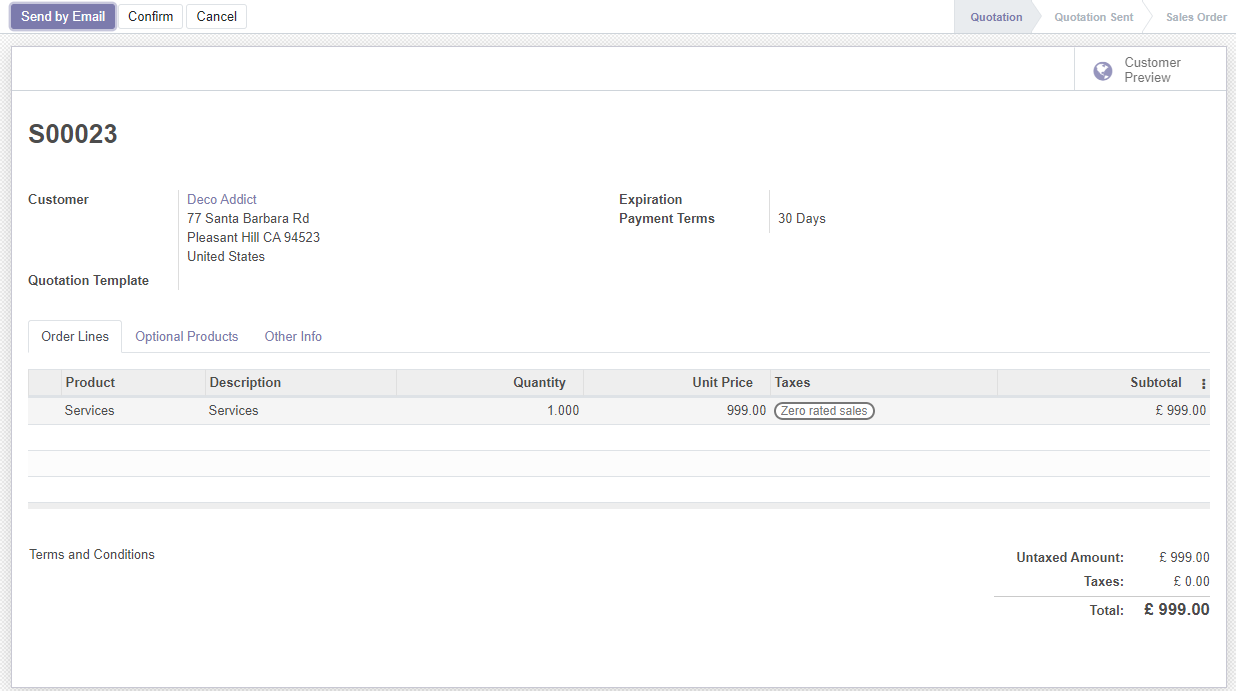
After filling the remaining useful information you’re now ready to send this new quotation
to your customer. Either send it by email or just print the Quotation itself. After
confirming your quotation you’ll see that the Stage will move forward to a Sales Order and
here is where you will find the integration with Sage Cloud Accounting. In the top right
corner you’ll find the
 button that automatically creates the invoice in your Sage platform.
For any more information, don’t hesitate to contact us.